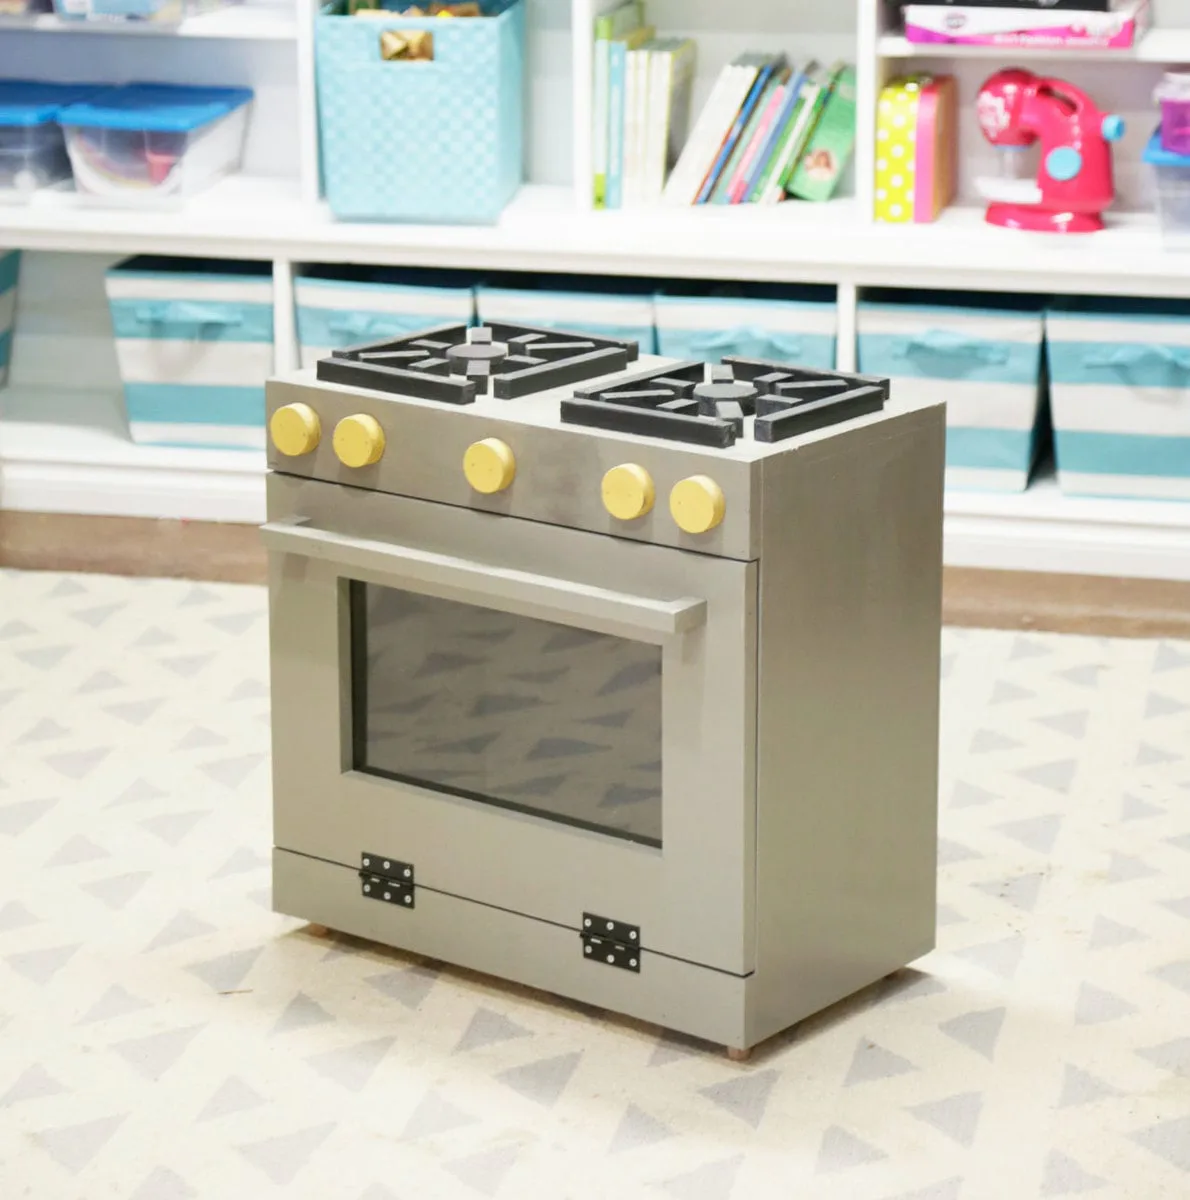
Cupcake or Dessert Stand
DIY cupcake or dessert stand.

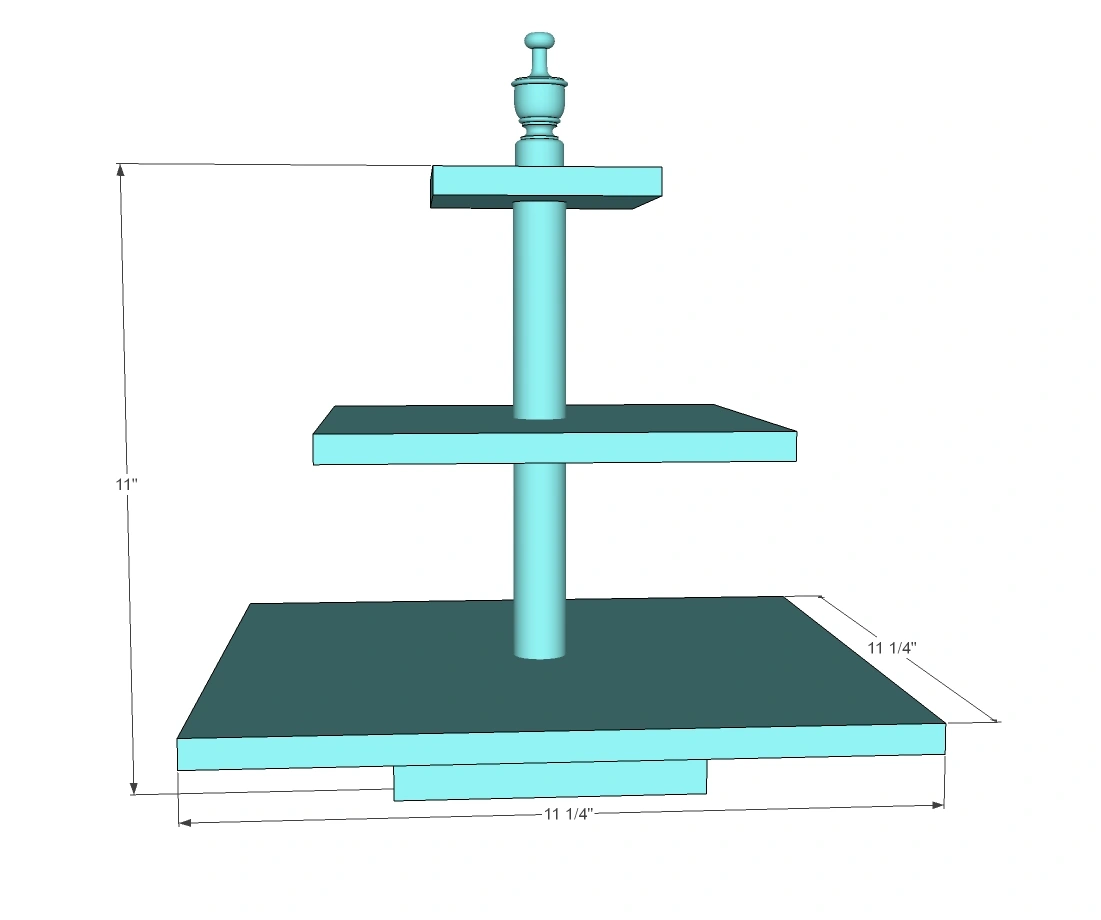
Dimensions
Use the size-specific shopping and cut lists below.
What you need
- 1 - 2x6 @ 5 1/2"
- 1 - 1x12 @ 11 1/4"
- 1 - 1x8 @ 7 1/4"
- 1 - 1x4 @ 3 1/2"
- 1 - 1" dowel @ 10 1/2" long
- 1 finial with screw already inserted (optional - check hobby/craft stores)
- Glue or silicone
- 1" drill bit or spade bit
about 12 feet of scalloped moulding (optional - check hobby/craft stores)
- 1 - 2x6 @ 5 1/2"
- 1 - 1x12 @ 11 1/4" (cut to width of 1x12 to make a square)
- 1 - 1x8 @ 7 1/4" (cut to width of 1x8 to make a square)
- 1 - 1x4 @ 3 1/2" (cut to width of 1x4 to make a square)
- 1 - 1" dowel @ 10 1/2" long
CUT LIST
- measuring tape
- square
- pencil
- safety glasses
- hearing protection
- drill
- circular saw
- nailer
Step by step
Step 1
Attach the 2x6 square base to the 1x12 bottom layer tray with glue and nails or screws (2" length).

Step 2
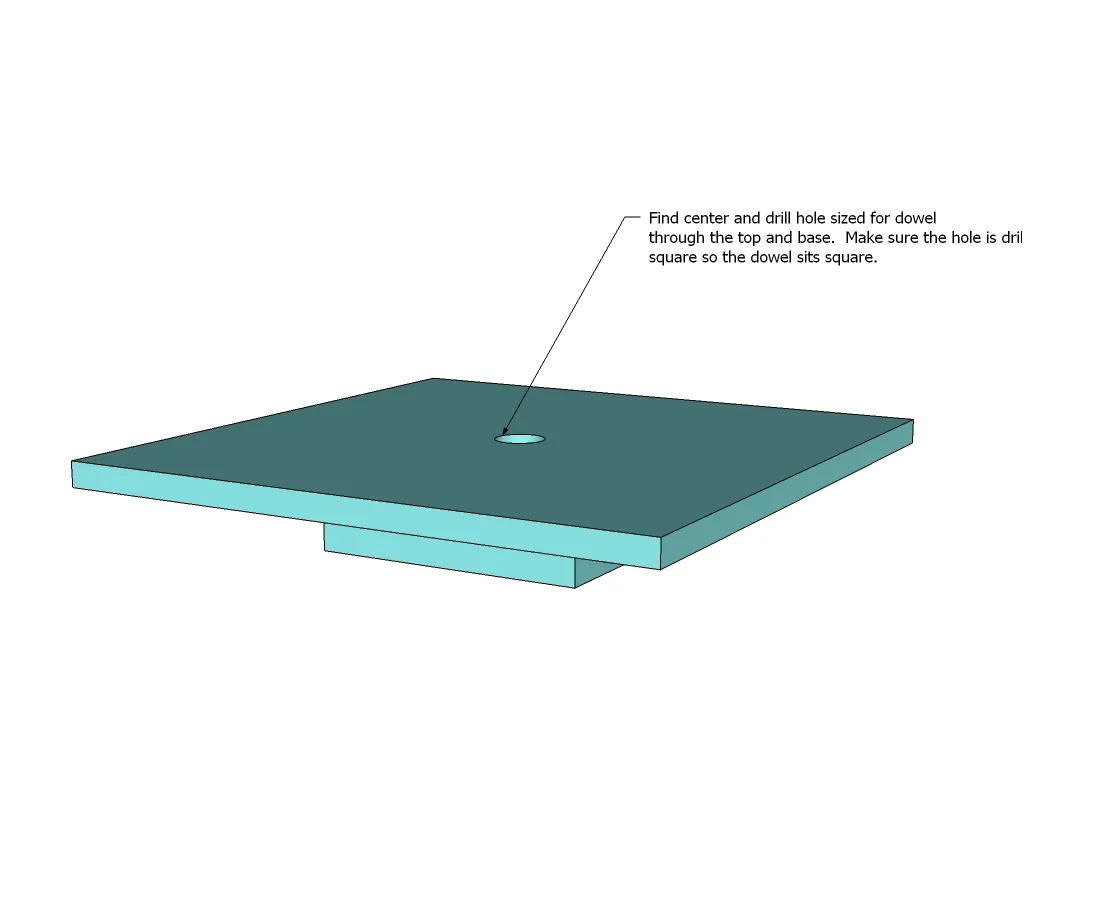
Drill holes through the bottom layer and into the 2x6 layer. Make sure the hole is drilled square so that the dowel doesn't sit crooked - this is very important.
Step 3
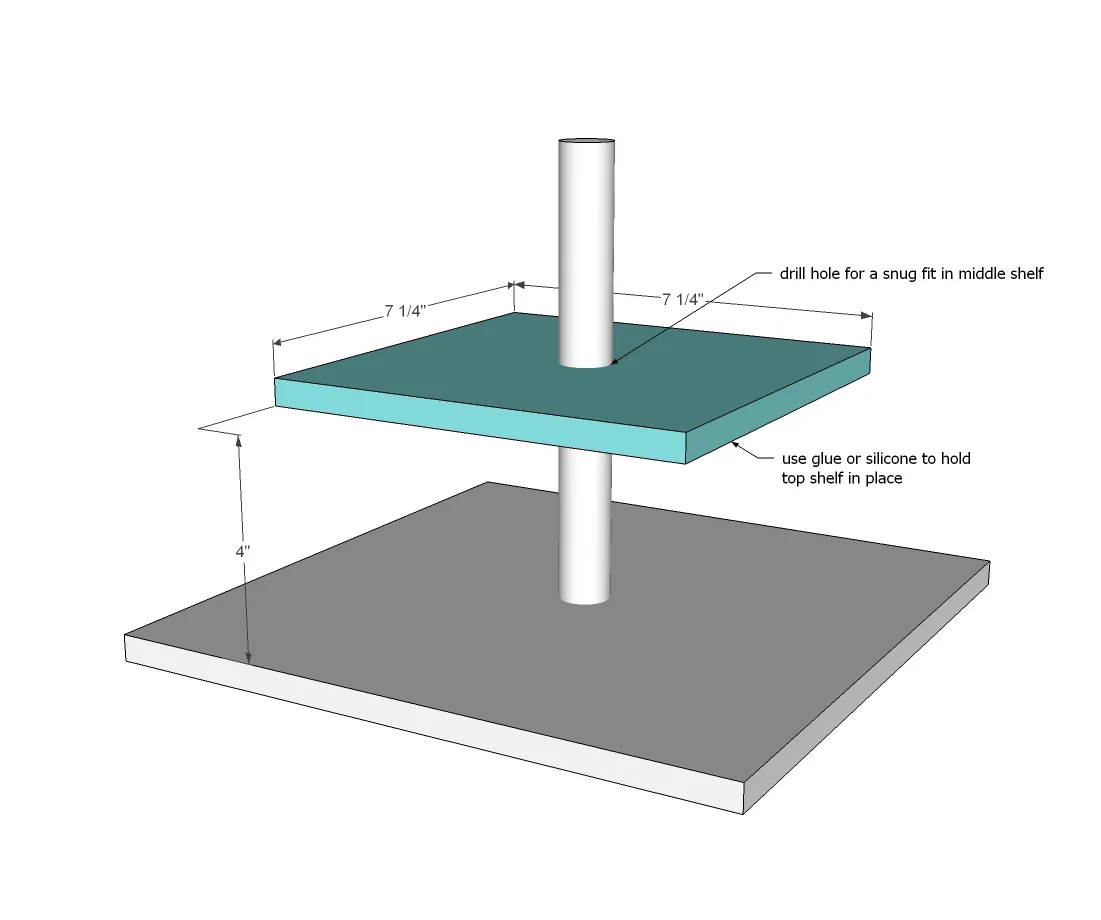
Insert dowel and glue securely in place.

Step 4
Place second layer on, glue in place.
Step 5
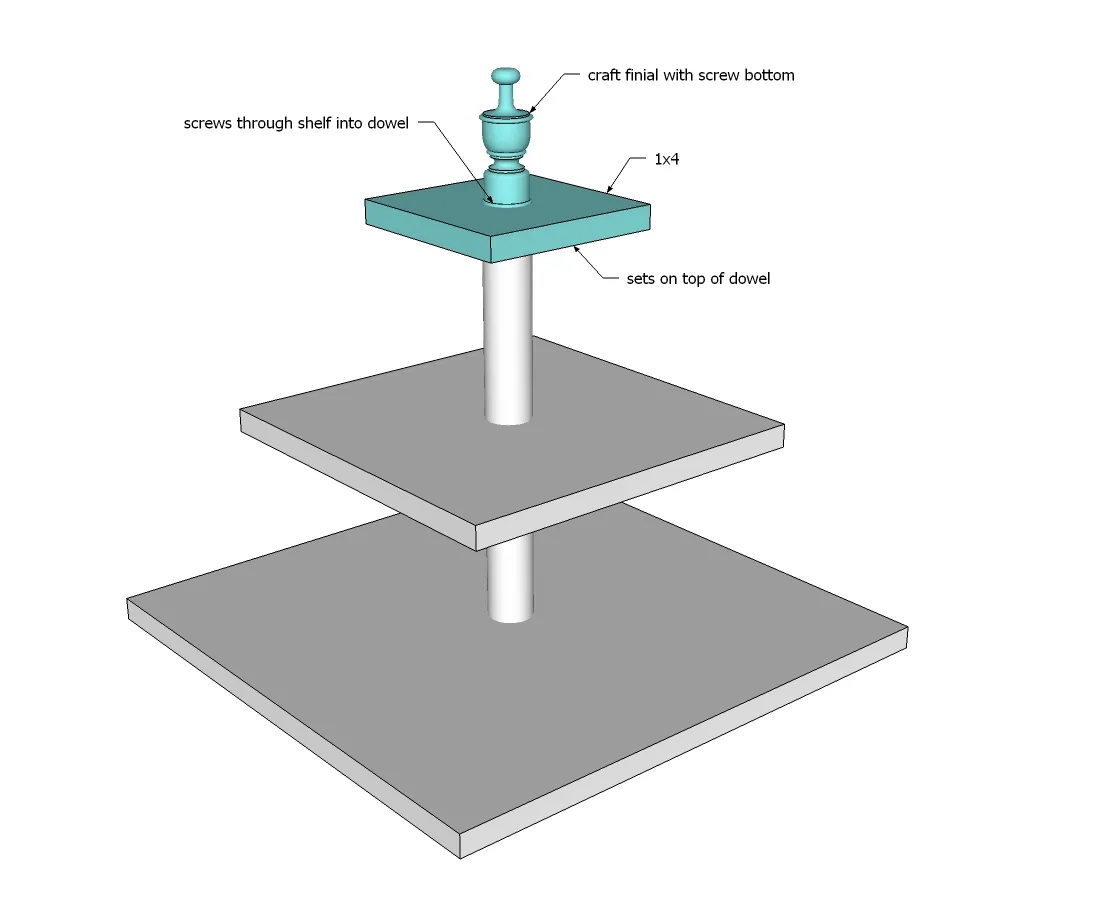
Trim edges of shelves with scalloped trim. Corners need to be cut at 90 degree bevels.
Nail or staple and glue on.

Finishing
Sand all surfaces, starting with a medium grit and finishing with fine. Wipe off the dust, fill any holes or gaps with wood filler, and sand smooth once dry. Apply primer if you're painting, then finish with your choice of paint or stain and seal with a durable clear topcoat. For outdoor projects, use exterior-rated primer, paint or stain, and sealer so the piece stands up to the weather.