Modern Double Outdoor Chaise Lounger
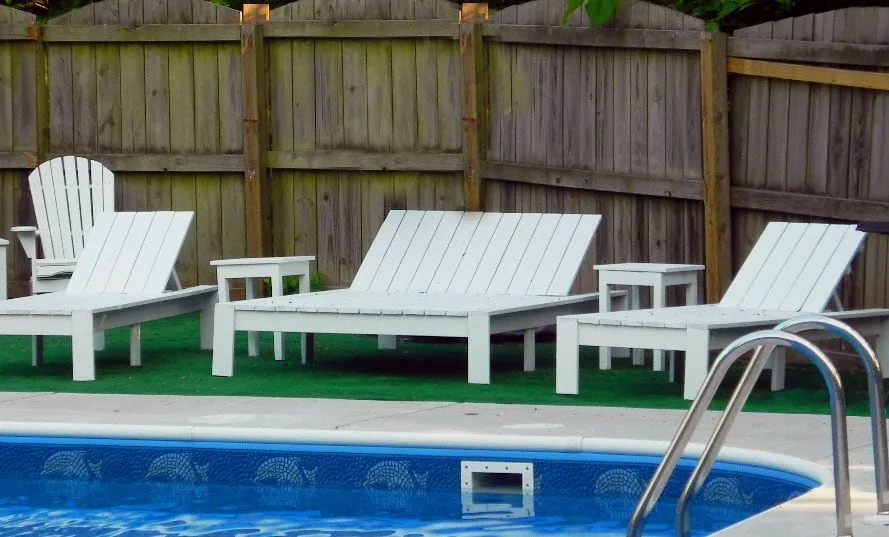
Comfortable, Durable and Stylish Outdoor Seating - Build a luxurious solid wood chaise lounge, suitable for 2! Built using 2x4 framing with 1x4 slats, make it easy. See also our matching Single Chaise Lounge Plans.
Dimensions
Use the size-specific shopping and cut lists below.

What you need
- 7 - 2x4 @ 8 feet long
- 3 - 2x2 @ 8 feet long
- 13 - 1x4 @ 8 feet long (there will be alot of scraps leftover about 16" long. I have created a plan for these scraps to make two matching side tables appended to the bottom of this plan)
- 6 - exterior hinges, heavy duty (at least 3")
- 50 - 2-1/2" to 3-1/4" long - exterior self tapping deck screws
- 150 - 1-3/4" to 2-1/4" long - exterior self tapping screws for screwing deck boards to the frame
- Main Frame
- 2 - 2x4 @ 76-1/2" long - frame sides
- 4 - 2x4 @ 44-1/2" long - frame front/back and supports
- 6 - 2x4 @ 11-1/4" long - legs
- 2 - 2x2 @ 27" long - back rest supports
- 2 - 1x4 @ 79-1/2" long - long deck pieces
- 11 - 1x4 @ 49-1/2" long - center deck pieces
- Back
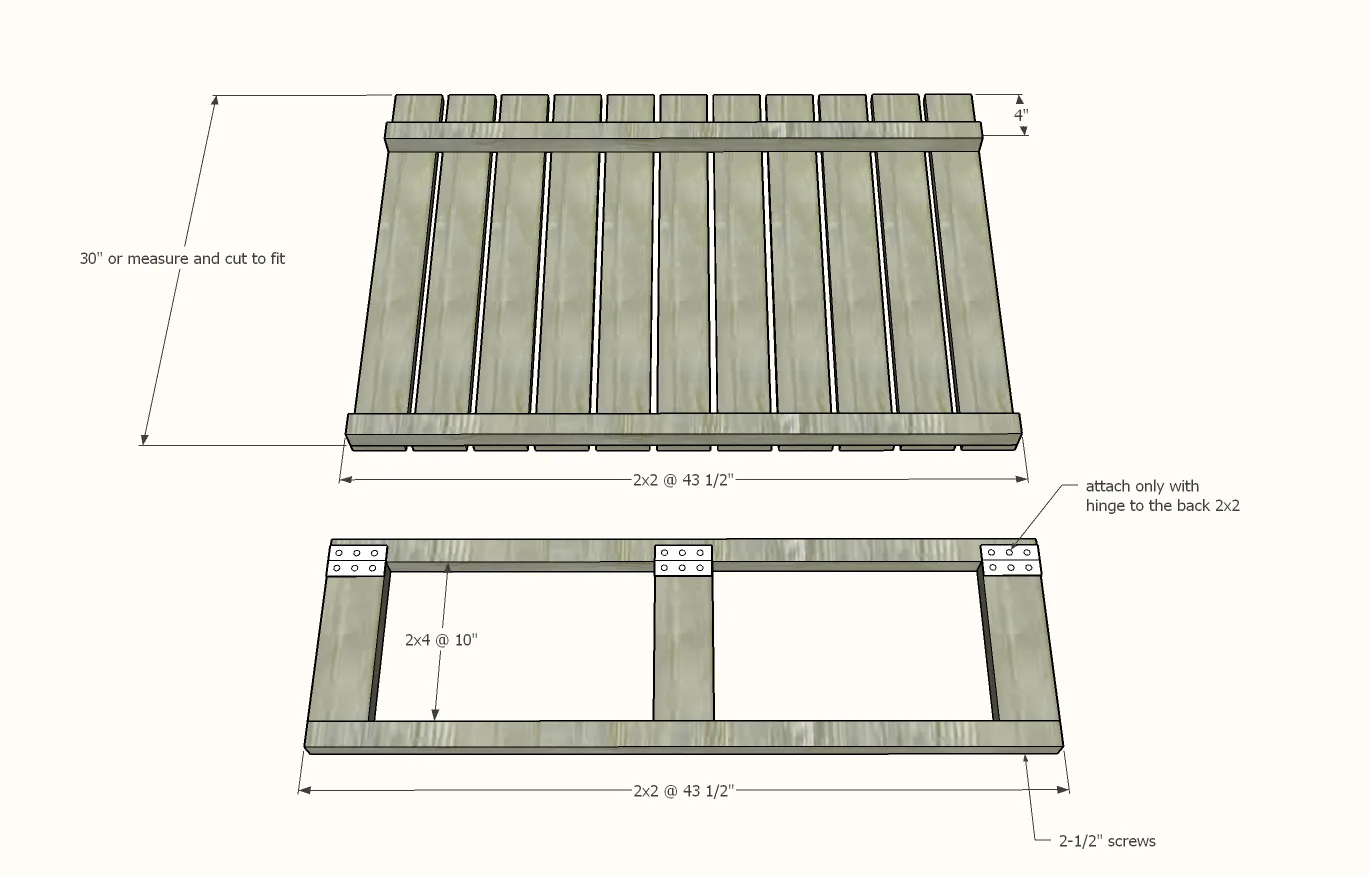
- 11 - 1x4 @ 30"
- 4 - 2x2 @ 43-1/2"
- 3 - 2x4 @ 10"
- 2x2 blocks about 3" long for the back stop blocks
- measuring tape
- square
- pencil
- safety glasses
- hearing protection
- drill
- circular saw
- sander
Step by step
Step 1
Build the frame using the longer screws, two screws per joint with exterior wood glue.

Step 2
Attach legs with the longer screws, keeping the back rest bay clear of legs.

Step 3
Attach 2x2 cleats inside the back rest area, flush to the bottom, with the longer screws and glue.

Adjust the frame for square.
Apply glue and attach long deck boards to top with shorter screws.

Step 5
Space out the shorter deck boards and attach to the frame with the shorter screws.

Build the two back pieces.
Use the shorter screws to attach the 1x4 back slats to the 2x2 back rest pieces as shown. Use the longer screws to attach the 2x2 prop up to the 2x4 prop up spacers. Then hinge the remaining 2x2 to the 2x4 prop up spacers.
Step 7
Attach the prop up to the back with shorter screws from the 1x4s.

Step 8
Hinge the entire back rest to the main frame.

Step 9
Position stop blocks inside the frame at desired locations. Make sure the back can fully close with the stop blocks in place. Attach stop blocks with the longer screws.

You will have scrap 1x4 leftover.
You will need to purchase two additional 2x4s to make these two side tables, and more shorter and longer screws. Cut List: • 12 - 1x4 @ 16" long (can be adjusted in length by simply adjusting the short apron length below) • 8 - 2x4 @ 17-1/4" long (legs) • 4 - 2x4 @ 13" (short aprons OR length of 1x4s minus 3") • 4 - 2x4 @ 16-1/2" (long aprons)

Step 11
Build the side table frames with longer screws.

Step 12
Attach legs with longer screws.

Step 13
Attach slats on top with shorter screws.

Finishing
Sand all surfaces, starting with a medium grit and finishing with fine. Wipe off the dust, fill any holes or gaps with wood filler, and sand smooth once dry. Apply primer if you're painting, then finish with your choice of paint or stain and seal with a durable clear topcoat. For outdoor projects, use exterior-rated primer, paint or stain, and sealer so the piece stands up to the weather.


