Rustic spindle bench
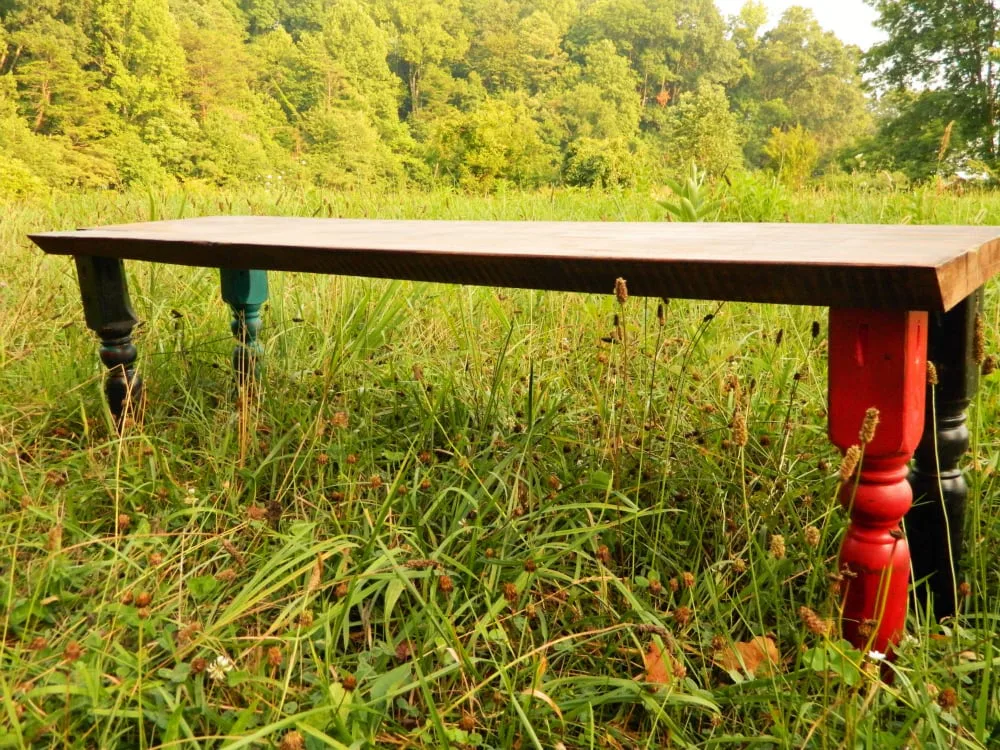
I recently lengthened the legs to an art table for my daughter. I decided to reuse the original legs in another capacity. While my wife was on pinterest she came across a large solid piece of wood with spindle legs attached to it to make a bench. I had recently picked up some large pieces of wood from the burn pile at a nearby sawmill. I cut one of the pieces in half after bringing it home and here is how to easily make a unique bench.
What you need
- Wood Stain
- Poly
Spindle legs (thrift store or garage sale, or reuse from something you already own)
- Spindles- 17 in
- Wood top- 60 in
- measuring tape
- safety glasses
- hearing protection
- kreg-jig
- drill
- circular saw
- sander
Step by step
Step 1
Once pieces were cut, I first drilled my jig holes in the spindles. I used a clamp and my pocket Kreg jig to drill one hole on each side that I used to attach the legs to the bench top. You could always drill from the top as well and then fill with wood filler.
Step 2
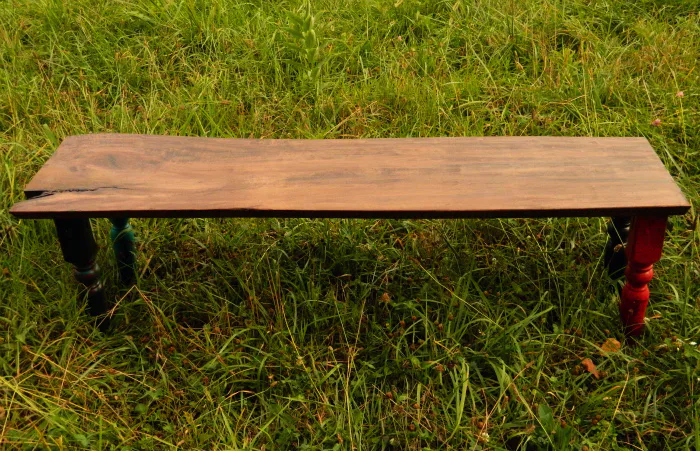
After the holes were made, I painted each leg a different color. One red, one teal, one red & teal that I then covered with black, and one black.
Step 3
I used some 100 grit sandpaper to rough up the legs and antique them a bit.
Step 4
Attach the legs to the outside edges of the bench bottom using wood glue and screws.
Finishing
Sand all surfaces, starting with a medium grit and finishing with fine. Wipe off the dust, fill any holes or gaps with wood filler, and sand smooth once dry. Apply primer if you're painting, then finish with your choice of paint or stain and seal with a durable clear topcoat. For outdoor projects, use exterior-rated primer, paint or stain, and sealer so the piece stands up to the weather.