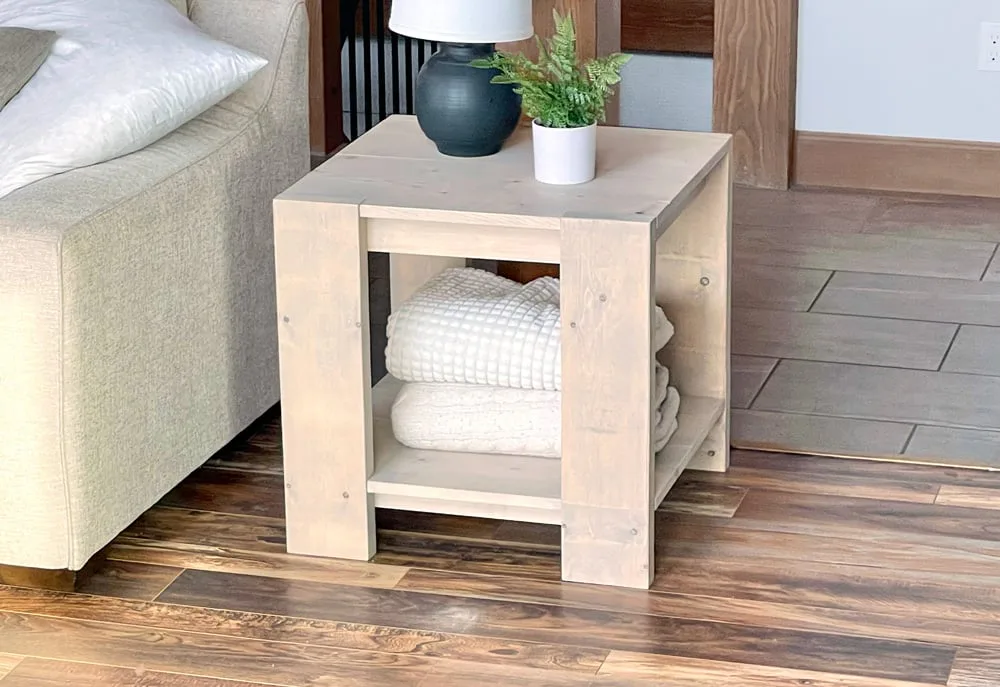
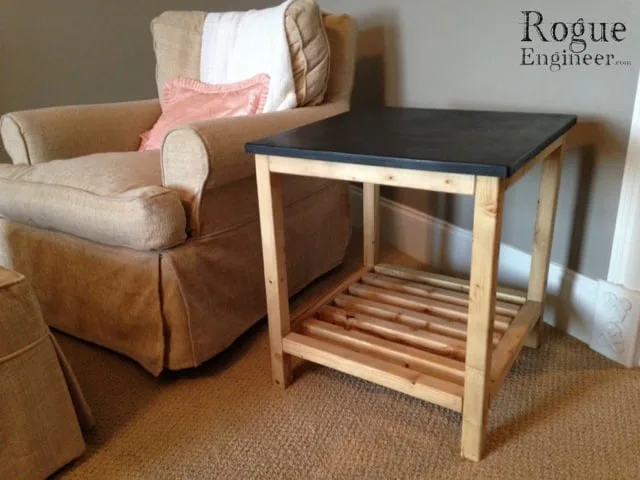
"Tidy Up" End Table
to build a tidy up side table!
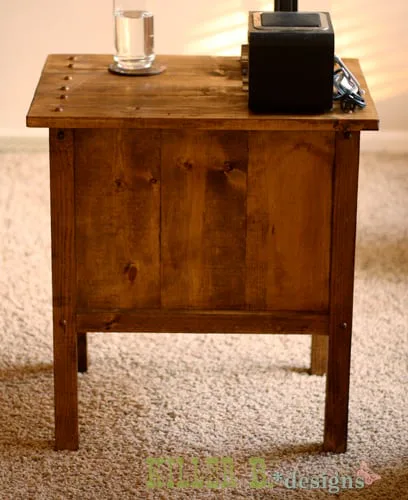
Dimensions
Use the size-specific shopping and cut lists below.

What you need
- 2 - 2x2 @ 8 feet long
- 1 - 1x6 @ 8 feet long
- 1 - 1x6 @ 10 feet long
- 1 - 1x2 @ 8 feet long
- 4 - 2x2 @ 23 1/4 (legs)
- 5 - 2x2 @ 11 1/4" (front and back trim/support)
- 6 - 1x6 @ 14 1/4" (sides)
- 4 - 1x2 @ 16 1/2" (side trim)
- 3 - 1x6 @ 22" (top)
3 - 1x6 @ 11 1/4" (bottom shelf)
- measuring tape
- square
- pencil
- safety glasses
- hearing protection
- kreg-jig
- drill
- circular saw
- nailer
- sander
- countersink drill bit
Step by step
Step 1
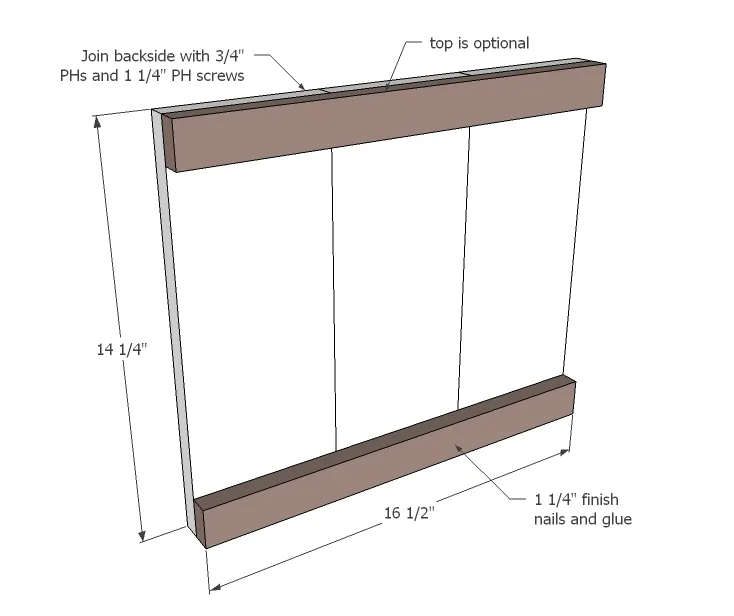
Start by building the two sides by attaching with 3/4" PHs and 1 1/4" PH screws and glue. Then add the bottom trim. You can also add top trim too. TIP: Drill 3/4" PHs along sides for attaching legs in next step before nailing on trim to make drilling easier.
Step 2
Now attach legs flush to top.

Step 3
Build bottom shelf as you did the sides. Drill 3/4" PHs around all sides of the bottom shelf. Attach to sides.

Step 4
Attach the 2x2 supports as shown above. Use 1 1/4" PH screws to attach bottom shelf to the end trim through holes you predrilled in step 3.

Step 5

Step 6

Finishing
Sand all surfaces, starting with a medium grit and finishing with fine. Wipe off the dust, fill any holes or gaps with wood filler, and sand smooth once dry. Apply primer if you're painting, then finish with your choice of paint or stain and seal with a durable clear topcoat. For outdoor projects, use exterior-rated primer, paint or stain, and sealer so the piece stands up to the weather.