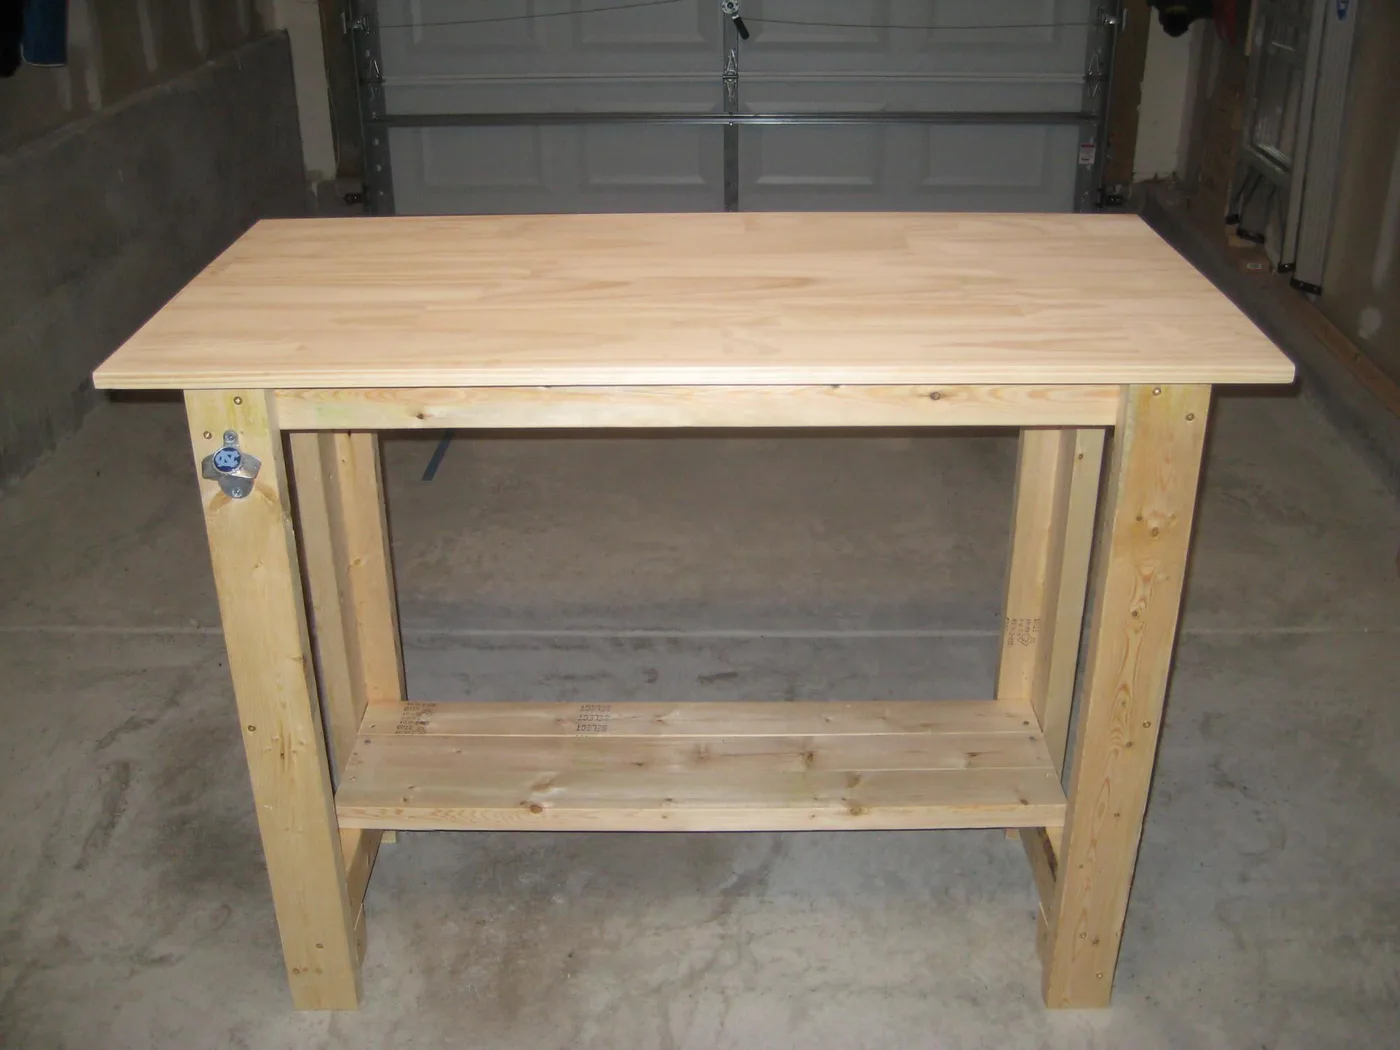
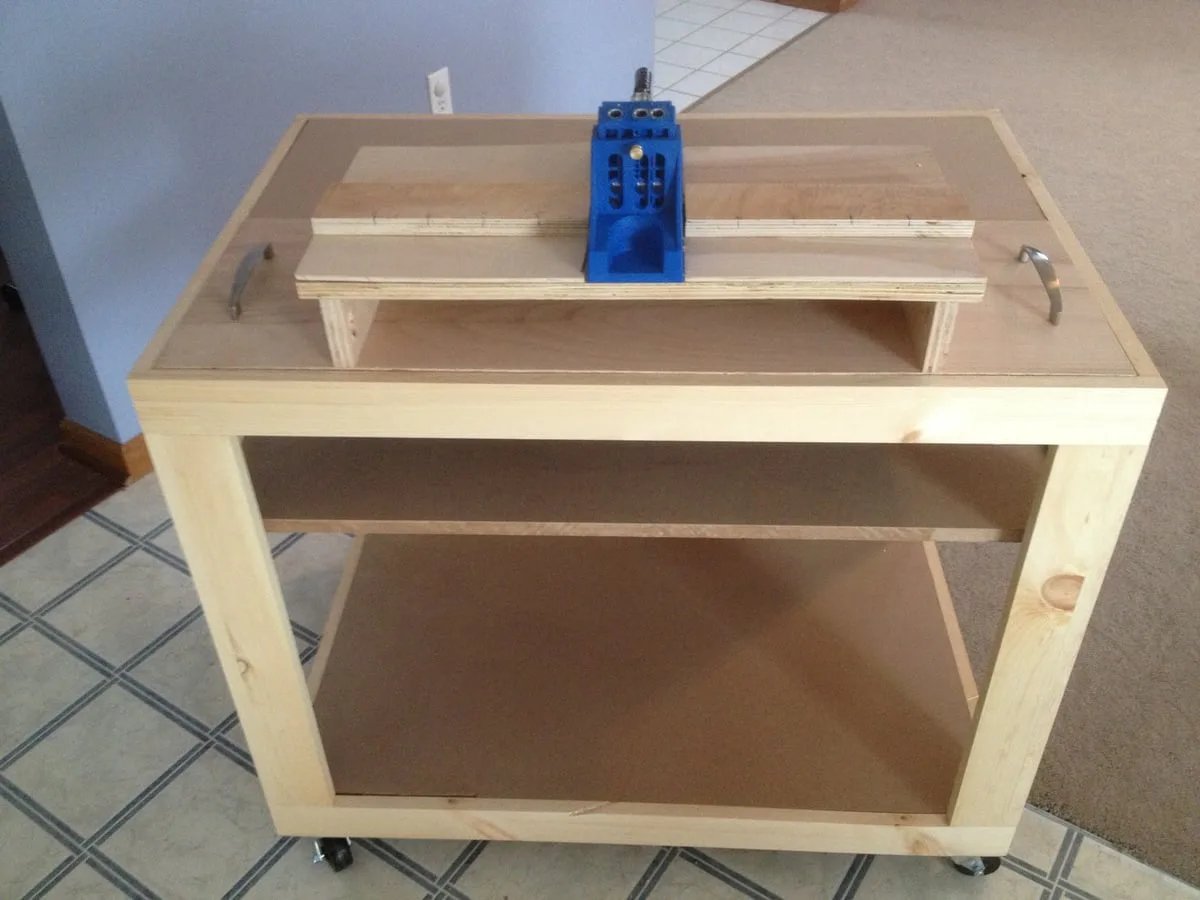
Workbench to Get the Job Done!
So, here I am, in the Philippines without a workbench. After finally renting out our condo, we decided we would move to a location better for the school & better for me to have peace of mind. You don't get that 22 floors up where you can't even hear the rain coming down:-/ So after 2 years, I finally had a place to build again. I started buying all new tools as using a 110-220 converter is a pain. I went and got my sliding compound mitre saw, table saw, bandsaw, tool chest, angle grinder, welder...etc etc. The one thing that never crossed my mind....was a workbench!! The biggest tool you'll ever need, and the most crucial..nonetheless, the most forgettable. So, I went looking around, and the closest thing I could find was a blank front door. Granted, it would have been better than the concrete step in which has served as my makeshift workbench, but it just seemed...I don't know, too easy:D I decided to build a 2x5 workbench out of nothing more than 2x4's, 3/4" plywood, and 1/2" plywood. I couldn't remember where I had originally stumbled across the plans, but I wrote the dimensions down at the time. I believe they are all accurately depicted to the plans I had originally found. Nonetheless, they're all the exact cuts I used for the bench. I was able to find a biscuit joiner over here, but no biscuits, so I went another route as you'll see in the photo. The one thing you will learn about the Philippines is that you will never find the matching opposite to go with what you need when it comes to tools! I'm still in search of dowel rods & it's been months!! **Start from the ground up. Wherever I read this, it said to start from the top. If you want this level, I'd suggest going from ground up:D.
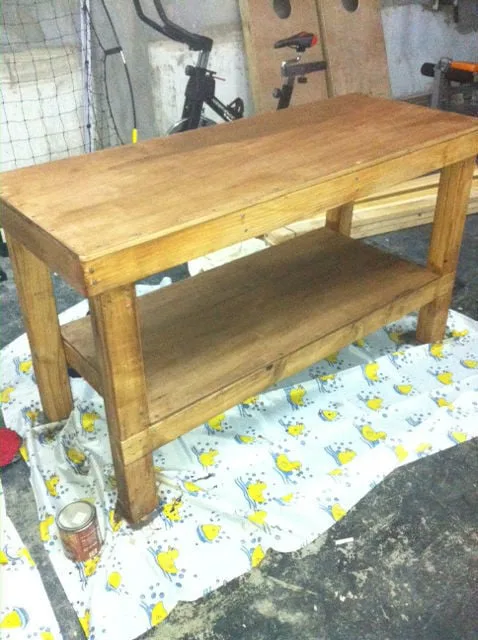
Dimensions
Use the size-specific shopping and cut lists below.

What you need
- 7-2x4x8'
- 1 - sheet of 3/4" plywood, ripped into strips 24" wide x 8 feet long (use for both shelves)
- 4 - 2x4 @ 33"
- 4 - 2x4 @ 17-1/2"
- 4 - 2x4 @ ~8-1/2"
- 2 - 2x4 @ 57"
- 7 - 2x4 @ 21"
- 2 - 2x4 @ 60"
- 1 sheet of 3/4" plywood ripped into strips, 24" x 96" - cut the shelf and tabletop pieces from these strips
- measuring tape
- square
- pencil
- drill
- circular saw
- sander
- level
- countersink drill bit
Step by step
Step 1
Assemble your legs

Step 2
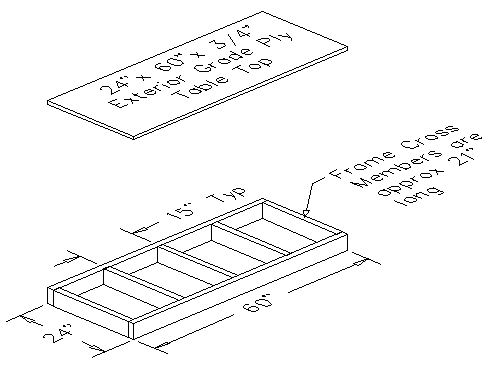
Assemble your shelf frame & cut the plywood to fit. Measure once, measure twice

Step 3
Before making your top frame for the workspace., clamp everything up & make sure it fits. Width, length, and vertical measurements are a good way of thinking. I actually spaced all under supports evenly, except, I made it to where one of the under, end 2x4's were closer to one side than the other. I have a lot of table-top tools & some of them are quite heavy. By doing this, not only do you get a little extra support underneath, but it gives you a nice stud to mount your table-top tools for permanent stay.

Step 4
Assemble the top. I used 1 1/2" construction screws for the top plywood sheet. I countersunk the top screws because I didn't want to catch myself on them while working. You can then fill them with wood filler. I didn't, however, because it's a WORKBENCH:D
Step 5
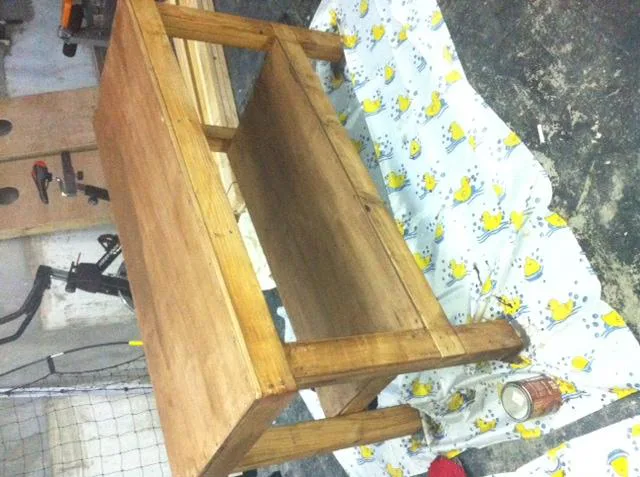
Finishing
Sand all surfaces, starting with a medium grit and finishing with fine. Wipe off the dust, fill any holes or gaps with wood filler, and sand smooth once dry. Apply primer if you're painting, then finish with your choice of paint or stain and seal with a durable clear topcoat. For outdoor projects, use exterior-rated primer, paint or stain, and sealer so the piece stands up to the weather.