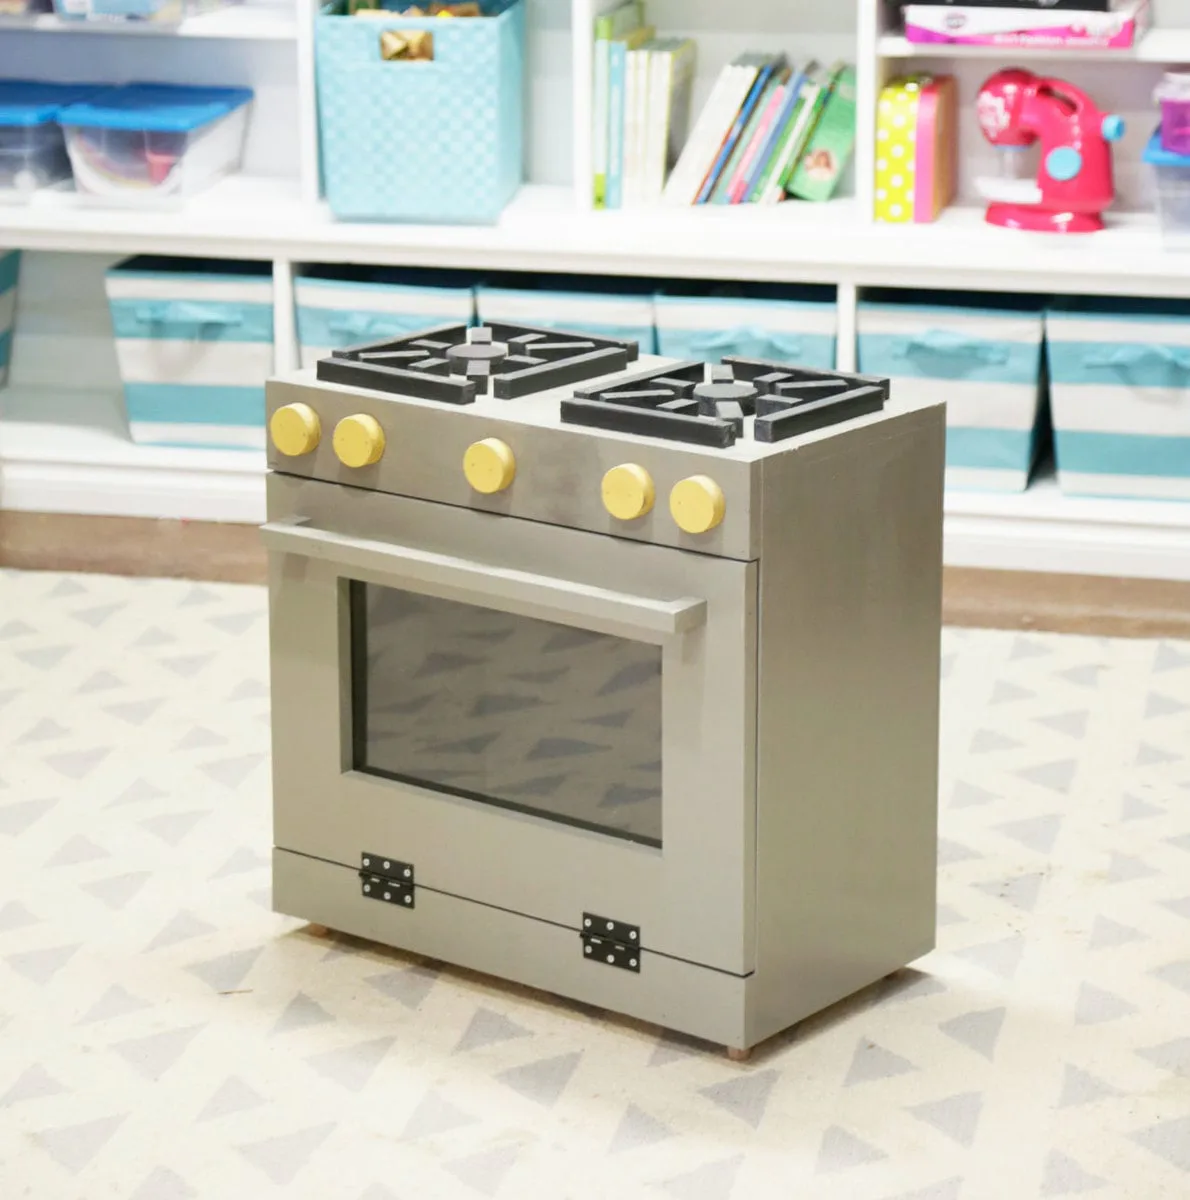
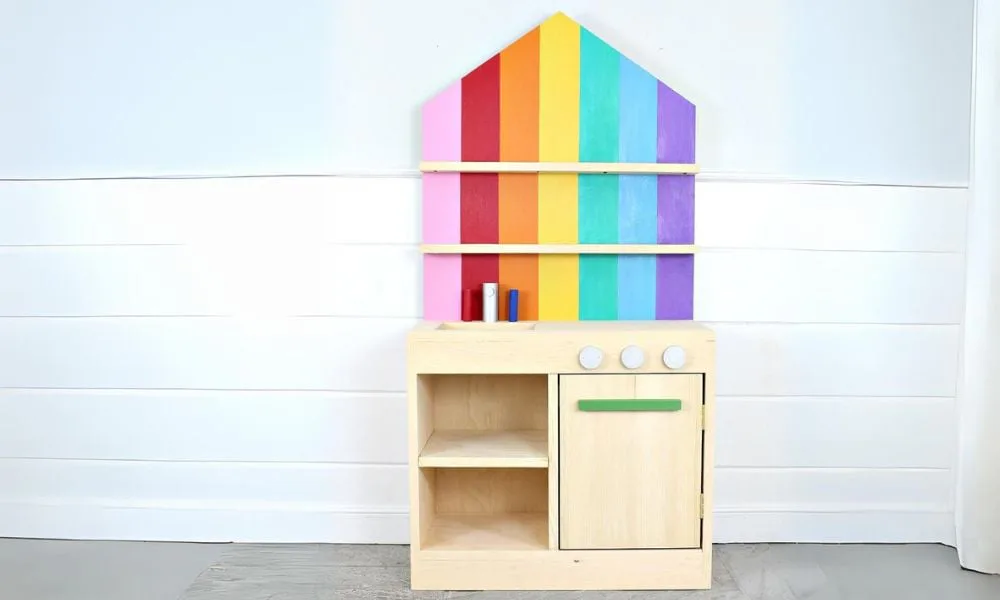
Play Kitchen with Back Wall
Build this cute play kitchen! with step by step instructions, diagrams, shopping and cut list.
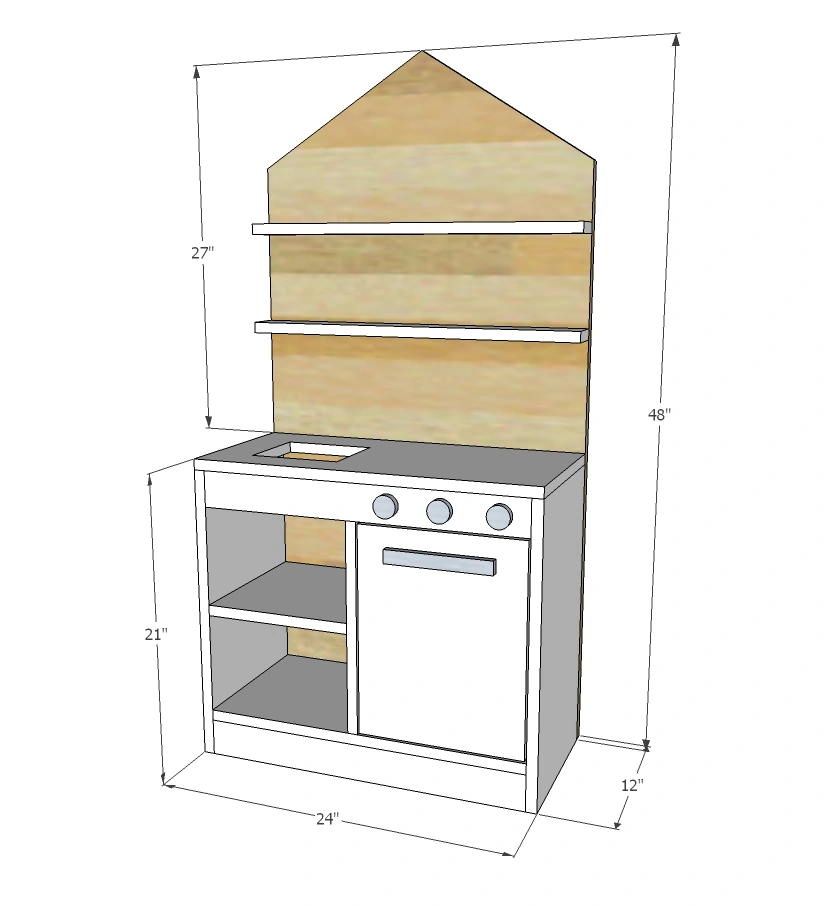
Dimensions
Use the size-specific shopping and cut lists below.
What you need
- 12 feet of 1x12
- 8 feet of 1x3
- 1 - 24" x 48" project panel, 3/4" thick (for the back)
- knobs for oven
- handle for oven
set of hinges for oven door and magnetic clasp
For fasteners, a Kreg Jig with 1-1/4" pocket holes, 2" self tapping wood screws (try SPAX screws) or 2" brad nails in an 18 guage nailer will all work, or a combination, depending on your tool set.
- 2 - 1x12 @ 20-1/4" (sides)
- 1 - 1x12 @ 22-1/2" (bottom shelf)
- 1 - 1x12 @ 24" (top)
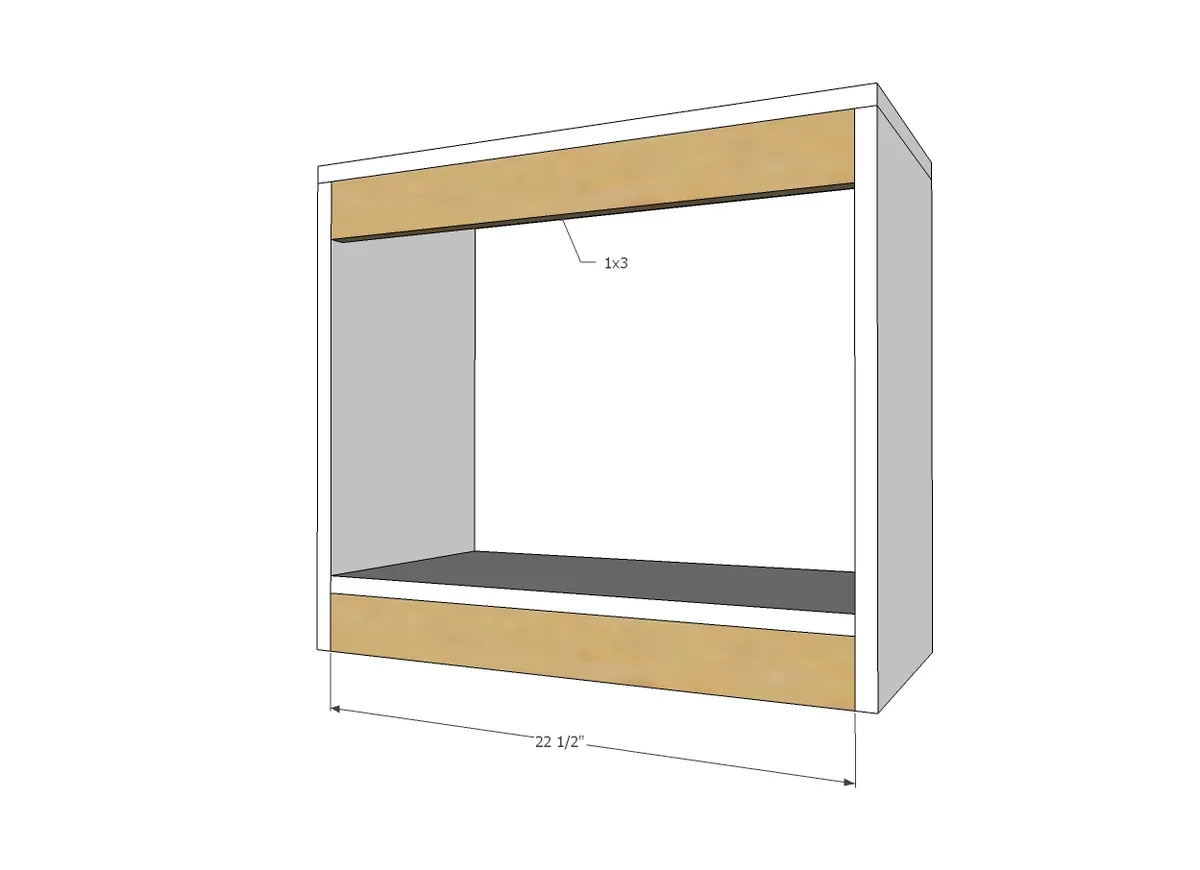
- 2 - 1x3 @ 22-1/2" (apron, base)
- 1 - 1x12 @ 10-1/4" (shelf)
- 1 - 1x12 @ 17" (divider)
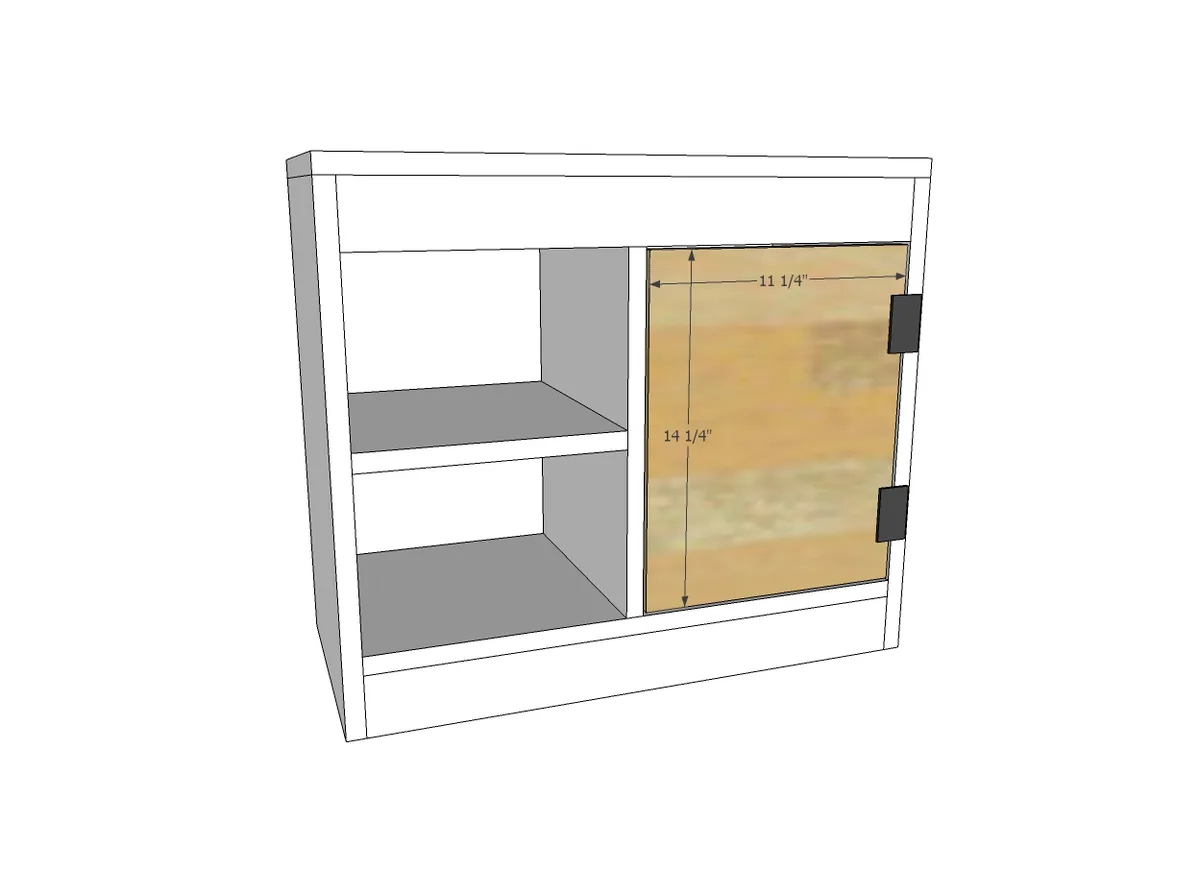
- 1 - 1x12 @ 14-1/4" (door)
- 1 - 3/4" plywood 24" x 48" (back)
- 2 - 1x3 @ 24" (shelves)
- measuring tape
- pencil
- safety glasses
- hearing protection
- circular saw
- jigsaw
- compound miter saw
- sander
Step by step
Step 1
Build the kitchen box with 1x12 boards. The 1x12s can be attached with Kreg Jig (3/4" setting, 1-1/4" pocket hole screws) or 2" screws or 2" brad nails and wood glue.

Step 2
Attach aprons to front of project. Aprons can be attached with finish nails or pocket hole screws.
Step 3
Add the divider and shelf, using same method of attaching.

Step 4
Hinge the door into the opening leaving an even gap around all four sides.
Step 5

Step 6
Attach shelves with screws from back side and wood glue.

Finishing
Sand all surfaces, starting with a medium grit and finishing with fine. Wipe off the dust, fill any holes or gaps with wood filler, and sand smooth once dry. Apply primer if you're painting, then finish with your choice of paint or stain and seal with a durable clear topcoat. For outdoor projects, use exterior-rated primer, paint or stain, and sealer so the piece stands up to the weather.