Preston Nesting Side Tables
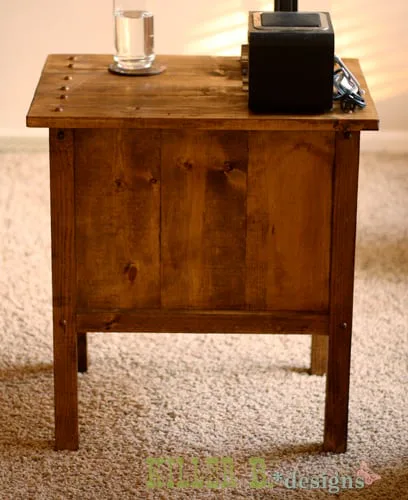
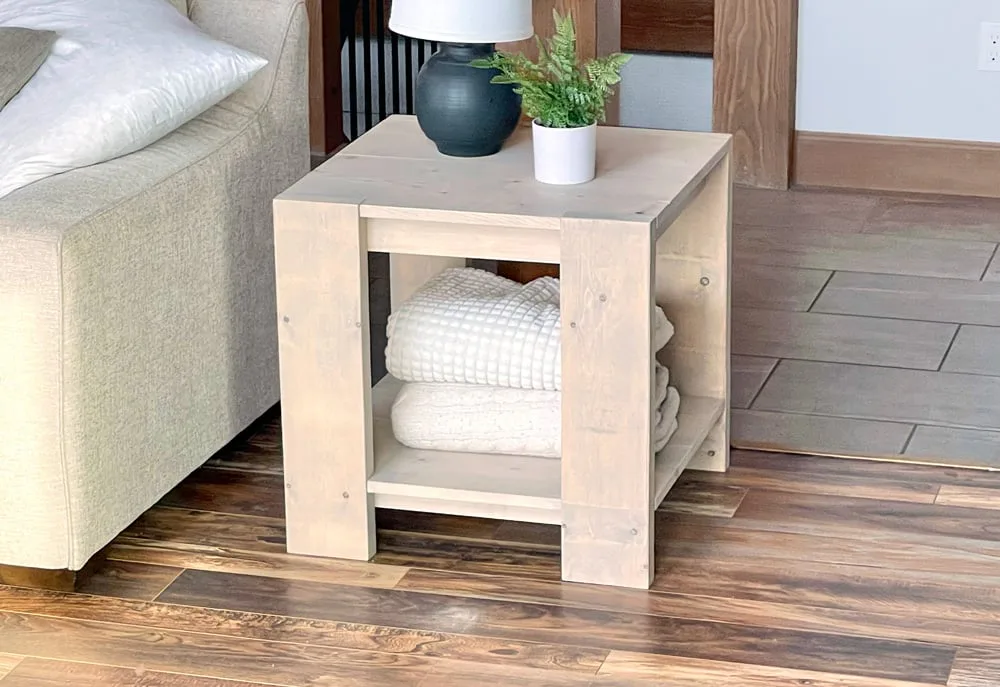
Nesting side tables with cute cottage charm for your living room! DIY plans to build these nesting end tables inspired by Pottery Barn Pratt Nesting Side Tables.

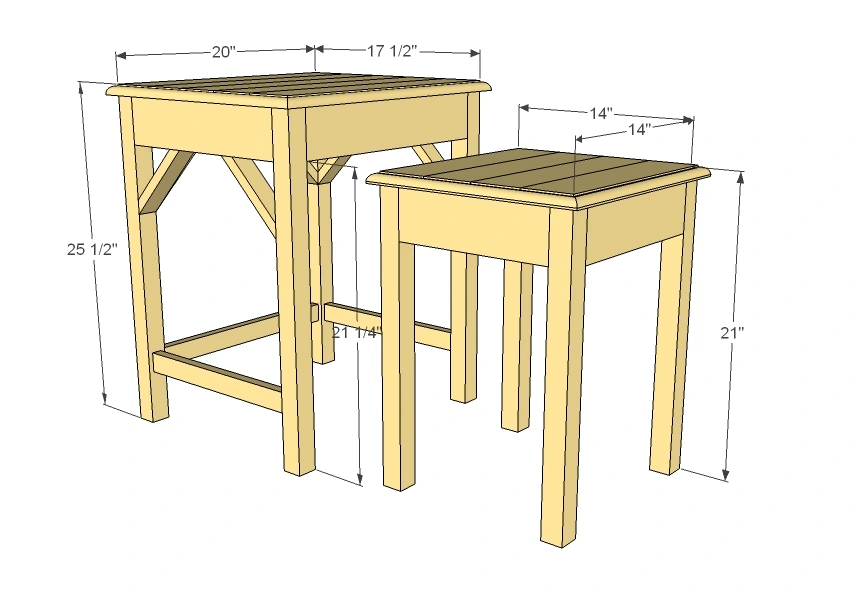
Dimensions
Use the size-specific shopping and cut lists below.
What you need
- 2 - 2x2 @ 8 feet long
- 1 – 2x4 @ 4 feet long
- 1 – 1x4 @ 8 feet long
- 1 – stick 5/8” cove base moulding @ 6 feet long
- 1 - 2x2 @ 8 feet long
- 1 – 2x4 @ 8 feet or stud length
- 1 – 1x4 @ 10 feet long (if you are building small table, you can buy an 8 footer and use scraps from small table)
- 1 – stick 5/8” cove base moulding @ 6 feet long
- 1 – 1x2 @ 8 feet long
- 2” screws
- 1 ¼” finish nails
SMALL TABLE
LARGE TABLE
FOR BOTH
- 4 – 2x2 @ 20”
- 2 – 2x4 @ 12”
- 2 – 2x4 @ 11”
- 4 – 1x4 @ 15”
- 5/8” cove moulding cut to fit4 – 2x2 @ 24 3/4”
- 2 – 2x4 @ 17”
- 3 – 2x4 @ 14 1/2”
- 5 – 1x4 @ 20”
- 5/8” cove moulding cut to fit
- 6 – 1x2 @ 7” (Longest point to longest point, both ends cut at 45 degrees off square, ends NOT parallel)
- 2 – 1x2 @ 14 ½”
- 1 – 1x2 @ 17”
SMALL TABLE
LARGE TABLE
- measuring tape
- square
- pencil
- safety glasses
- hearing protection
- drill
- compound miter saw
- nailer
- sander
- countersink drill bit
Step by step
Step 1
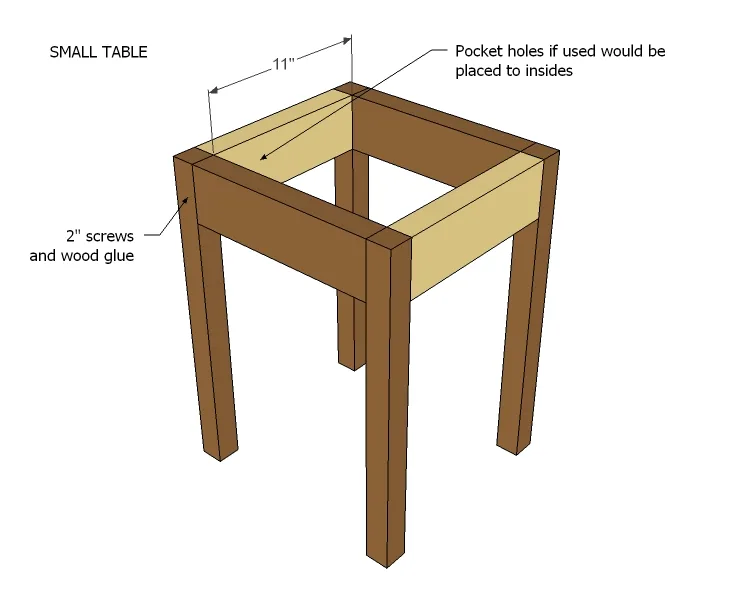
Attach legs to aprons to create two leg sets.

Step 2
Then attach the remaining aprons to the leg sets to create a table! How easy is this???
Step 3
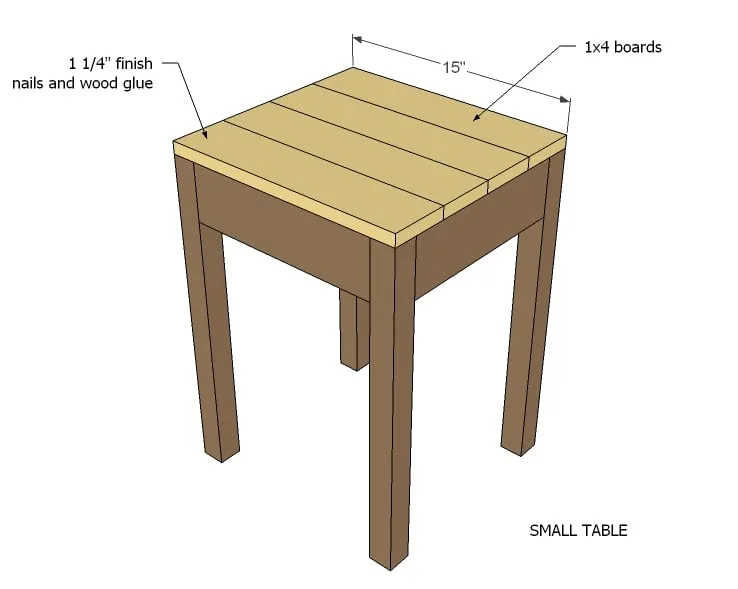
Add planking to the top for a rustic look. Go ahead, ding up the top with a hammer - it'll just add to the handmade vintage rustic appeal.
Step 4
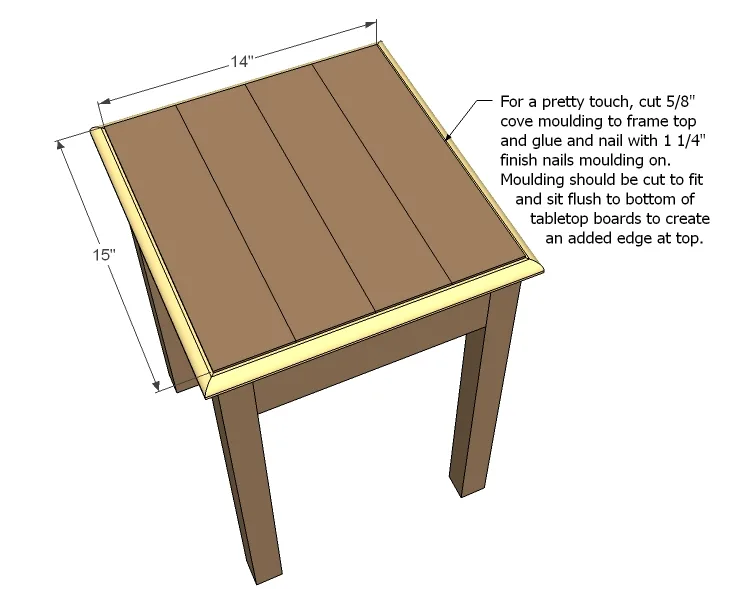
This is optional, but I'm so glad Brook put the moulding around her tables. It's just such a nice touch. Glue and nail on. If using a hammer, nail with a nail set to push nails below surface of wood. Corners should be mitered at 45 degrees off square.
Step 5
Step 6
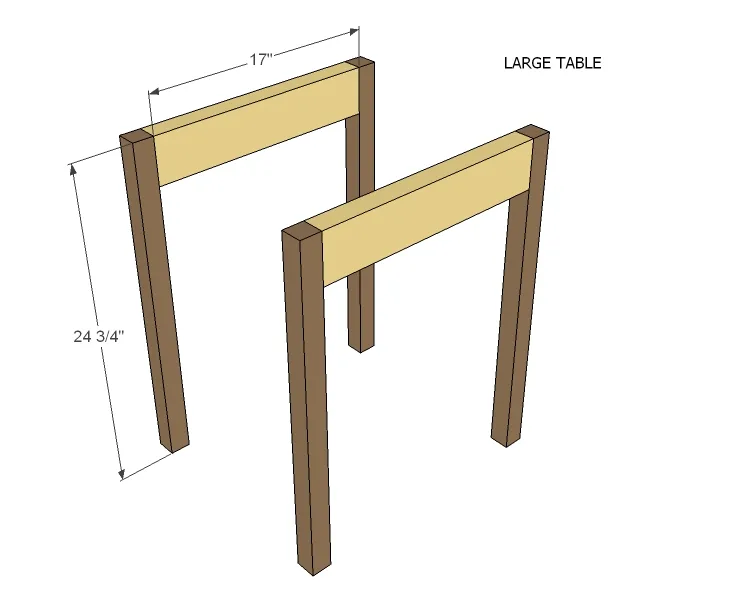
Only difference is we add a center support on this one.

Step 7
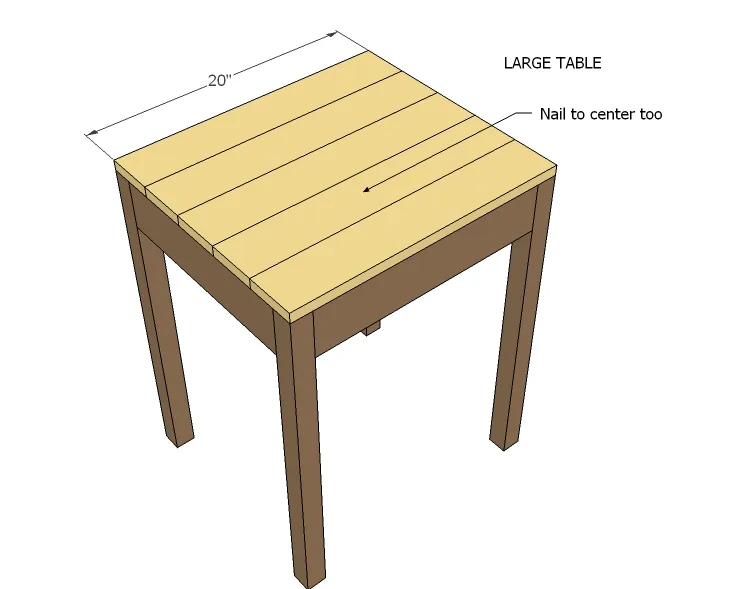
Planking for the top...
Step 8
Moulding if you are going that route.

Step 9
And now the fun part. Add the stretcher and angle braces.

Step 10
And then on the back. And that's it!!!

Finishing
Sand all surfaces, starting with a medium grit and finishing with fine. Wipe off the dust, fill any holes or gaps with wood filler, and sand smooth once dry. Apply primer if you're painting, then finish with your choice of paint or stain and seal with a durable clear topcoat. For outdoor projects, use exterior-rated primer, paint or stain, and sealer so the piece stands up to the weather.